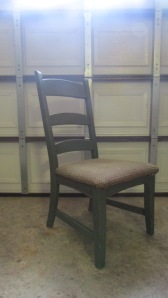
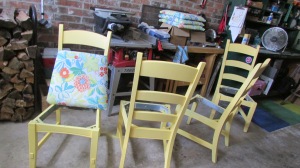
I wanted to swap out my old glass round dining table and metal chairs for wood. I wanted to do it on a budget – it’s more fun that way, so I started looking for chairs and a table I could refinish to my liking. I went to my local Hospice Thrift store and found 4 ugly green chairs that were $19.99 on sell for 50% off!!! I knew I didn’t want to spend more than $10 for each chair – SCORE!!! Here is my makeover. BTW, still searching for the table, I may just have to make my own. I don’t want to spend over $100. on the table.
Wrigley’s Nursery
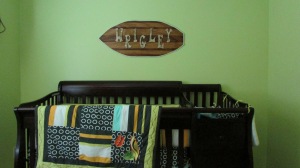
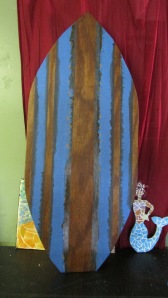
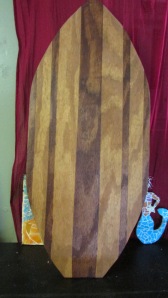
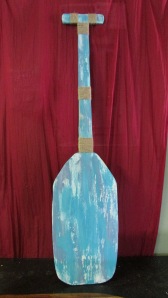
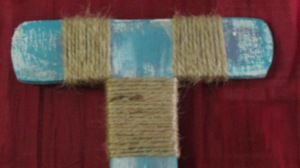
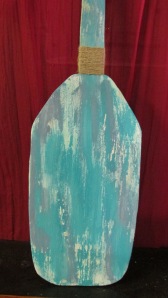
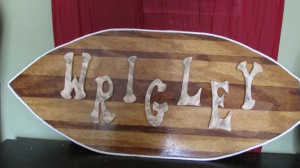
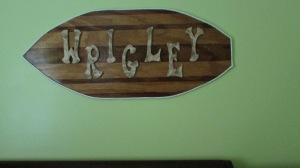
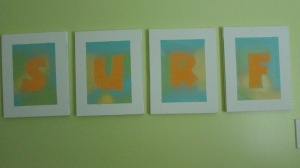
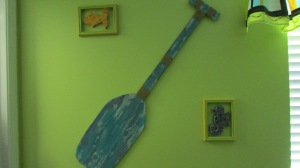
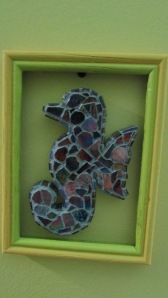
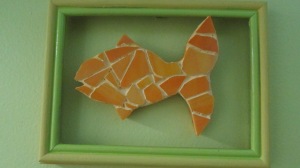
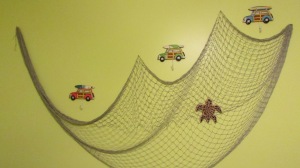
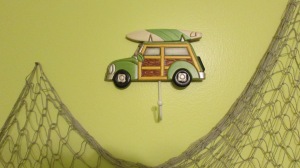
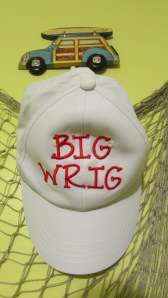
Our new grandson, Wrigley, will be arriving on July 3rd. He will be joining his big sisters, Layla and Joley, to add more joy and love to our lives. My son, Zachary and DIL, Ashley were trying to decide how to decorate the nursery – I bet you’re thinking baseball….. We thought of that, too and decided to go with a cute surfer theme. I went into my shop and came up with a few cute ideas to add to his room.
C
Pallet Wood Christmas Tree
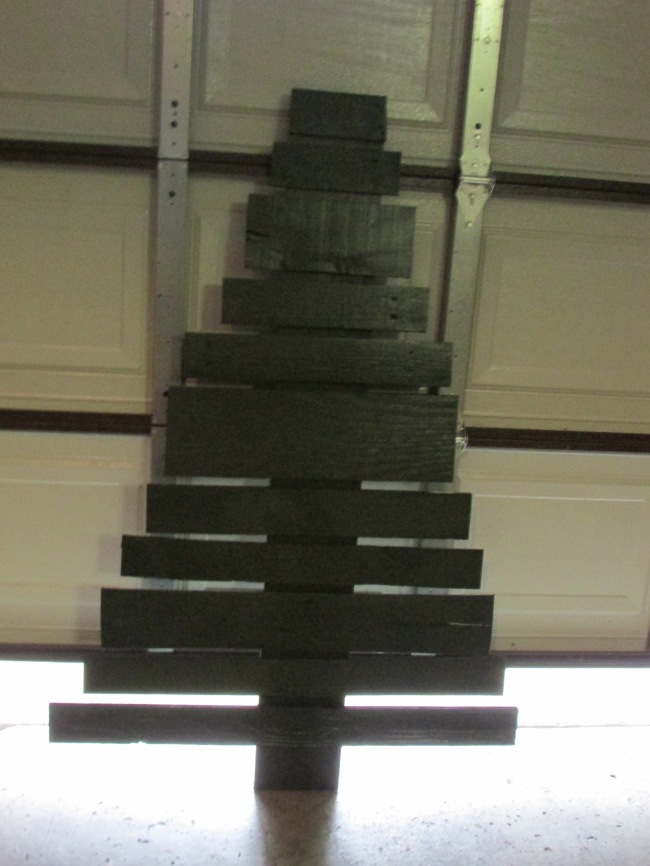
I have seen a lot of Christmas crafts made from pallet boards and thought it was time I tried my hand at making a rustic Christmas Tree. I love the way it turned out. I used pallet boards and some scrap wood I had laying around, some green paint from another project and decorations. It only took a couple of hours since most of the wood was already the size I wanted. Hope you like the finished product!
OWLS, OWLS, OWLS!!
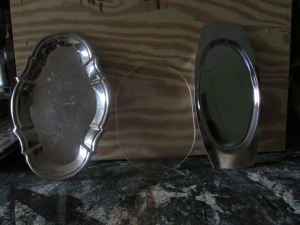
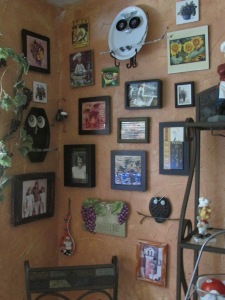
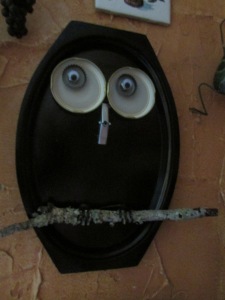
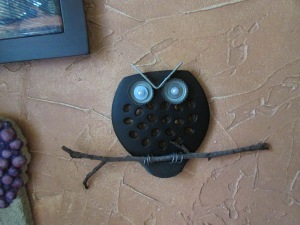
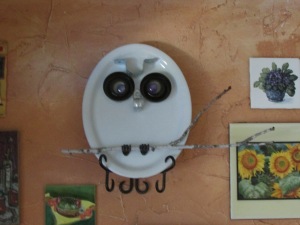
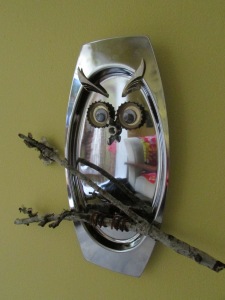
My sister, Carrice, loves owls. She has collected them for as long as I can remember. Through the years I have bought her a fair amount of them but now I have decided that I will make her some very unique ones. Here are some of my first attempts. As you can see they are made from dishes, old hardware, jar lids, etc. No rules here!! I thought I would post a few before I head back out to the shop and make some more. Don’t tell her, they are Christmas gifts!! I happen to know she wants to do a whole wall in her kitchen with Owls, so I plan to help out with that. 😀
Pallet Boards Headboard
A few months ago I changed all the colors and decor in our bedroom. I like my room dark (my husband calls it the cave) because it helps me to sleep better. I went with grays and tan with a splash of yellow. I knew I wanted a big headboard and I knew I wanted to make it myself. There was no doubt that pallets would be involved! I’m very pleased with the end results. Now I have to find those perfect pieces to redo for bedside tables and a couple of unique lamps.
Summer Time Flip-Flop Wreath
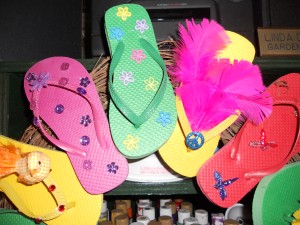
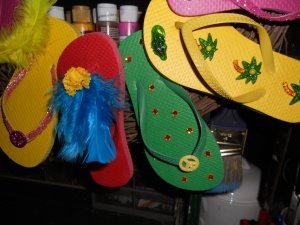
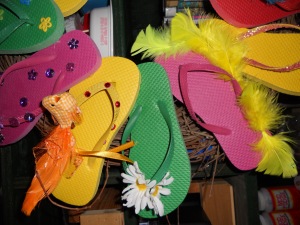
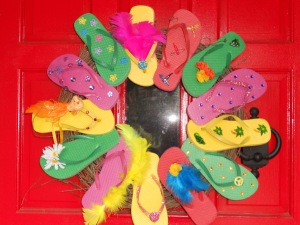
I first saw a flip-flop wreath on Pinterest and knew I had to try my hand at it. I hit the dollar store and bought all their children’s bright colored flips and then dug through my craft stuff and began to decorate them. I wanted it to look like something my two granddaughters would do – you know, lots of feathers, jewels and flowers. I love how it turned out and it makes my front door look very happy. Can’t wait for my first visitor!
Palm Tree and Turtle Mosaic
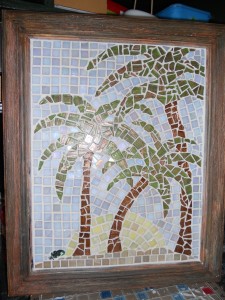
My husband loves palm trees so I have decorated our den with an assortment of art pieces. I made this one for him over the weekend from scrap glass tiles I have collected over the years. He loves it!! I really enjoyed making it, even if I did end up with little cuts all over my hands. 🙂
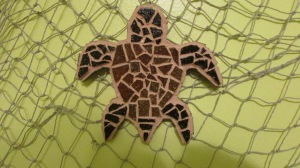
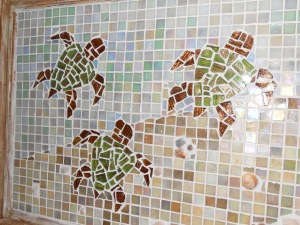
I wanted to do a second mosaic piece to go with the Palm Trees so I went with Turtles! They are going from the sand into the ocean.
Christmas Craft Challenge
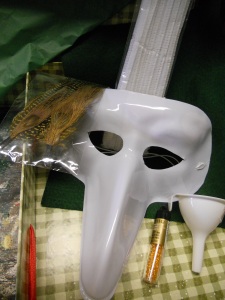
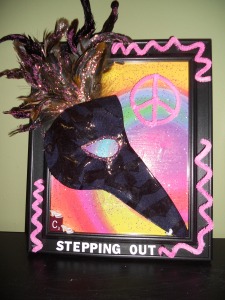
This past Christmas my husband and I went home to VA where my dad and two sisters still live. We took our RV and camped in Newport News Park and had everyone over (at one point there were 17 people!) to celebrate and hang out around the camp fire. My two sisters are wicked funny and love to gang up on me. (I am the baby….) They love my crafty stuff and decided to give me a craft challenge. I’ve never seen the food show Chopped, but the premise is that you are given certain ingredients and have to prepare a meal using all of them and any items from the pantry. Well….. my sisters gave me a gift box with several strange items in it and challenged me to create something using each item plus what I have in my own stash. I have had a blast putting this together. I like to think I am getting the last laugh on this one, though. I was able to make TWO pieces from everything so each sister is getting an original tacky art work by yours truly!! I will be terribly hurt if they don’t hang them up in a prominent spot in their homes. *cue wicked laugh*
Candle Holder Re-do
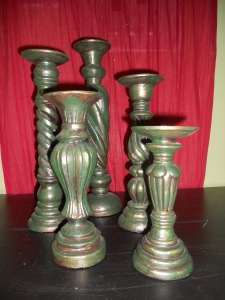
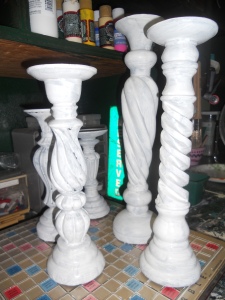
A friend gave me this set of candle holders about 10 years ago. They were originally a bright gold – I’m not much of a gold person so I painted them in layers of green and brown and then sanded them down some. This matched my living room much better. Now…. after looking at them for the past 10 years I though it was time for a change. I wanted to go with a shabby chic look so I made my own chalk paint – it’s pretty pricey at the specialty stores. I used unsanded grout and some white paint I had on hand. After painting them I sanded them down some (back to that brown/green) and then added a light stain to give them an aged looked. I am pretty pleased with the way they turned out. I have 10 more years to come up with something else to do with them!!
Paper Doll Wall
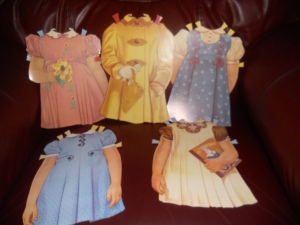
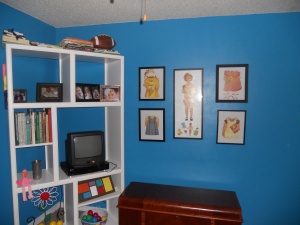
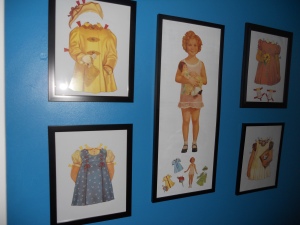
 I have some of the fondest childhood memories of playing with my huge collection of paper dolls. I had saved them since I was a little girl but had to throw them out recently. *sob* The years, not to mention mildew, were not kind to them. So imagine how pleased I was when I received my late mother’s hope chest and found some Shirley Temple paper dolls that had never been taken out of the box! I knew I wanted to do something special with them in the room I designed for my two young granddaughters, Layla and Joley. I came up with the idea of putting them in frames and using them as art. Here is the end result. I hope you like it. Can’t wait for my girls to see it, too.
